



Choose woven patches when your design has fine detail, small text, or a flat, low-profile look. Choose embroidered patches when you want raised texture, bold graphics, and a heritage feel on heavier fabric. Both hold up to regular wear and washing. The real decision comes down to your artwork’s detail level, the fabric you’re stitching onto, and the texture you want people to feel when they run a hand across it.
TL;DR:
- Woven patches are ideal for small text or fine details, as they can reproduce intricate linework and gradients better than embroidered patches.
- Embroidered patches provide a raised, textured appearance with thicker stitching, making them suitable for bold designs on heavier fabrics like denim and outerwear.
- Cost and production time tend to be lower for woven patches at high detail levels, while embroidery becomes more expensive with increased stitch density and color use.
- For long-lasting durability, sewing on patches offers the best resistance to washing, whereas heat-seal backing can fray after multiple wash cycles.
- Selecting the right patch depends primarily on artwork complexity and fabric type; detailed designs suit woven, while textured, bold visuals match embroidery.
Table of Contents
- What Woven Patches Are and What Their Construction Means for Design
- What Embroidered Patches Are and What Their Construction Means for Design
- Woven vs Embroidered Patches Compared Side by Side
- How Do You Choose the Right Patch for Your Order?
- How Durable Are Woven and Embroidered Patches After Washing?
- What Drives the Cost and Lead Time of Custom Patches?
- Which Patch Type Works Best on Which Garment?
- How Modern Day Knight Applies This to Real Apparel
- What People Get Wrong About Choosing a Patch
- See These Patch Choices on Real Apparel
- Sources
What Woven Patches Are and What Their Construction Means for Design
A woven patch is built like a tiny piece of fabric, not stitched onto one. Fine threads run through a loom in tight, repeating passes, the same basic process behind woven fabric labels, so the image and the material are one and the same thing. That’s why woven patches can reproduce much finer detail than embroidered patches. Thin lines, small logos, gradient shading, even tiny serial numbers or coordinates come through clean.
The tradeoff for that fine resolution is texture. Woven patches sit almost flush against fabric, giving them a printed look rather than a dimensional one.
Practical traits worth knowing before you order:
- Profile is very low, so they add almost no bulk
- Flexible enough to follow curves on caps and seams
- Smooth, flat surface with a subtle sheen instead of raised fibers
- Common in merrowed, laser-cut, or heat-seal edge finishes
- Backing options include sew-on, iron-on, and adhesive
If your design has small text or fine linework, woven is usually the safer starting point.
What Embroidered Patches Are and What Their Construction Means for Design
Embroidered patches build the image stitch by stitch, with a needle laying thicker thread on top of a fabric base, usually twill or felt, producing a raised, textured surface. That texture is the whole appeal. Run your thumb over an embroidered crest and you feel ridges, direction changes, and depth that a flat design can’t give you.
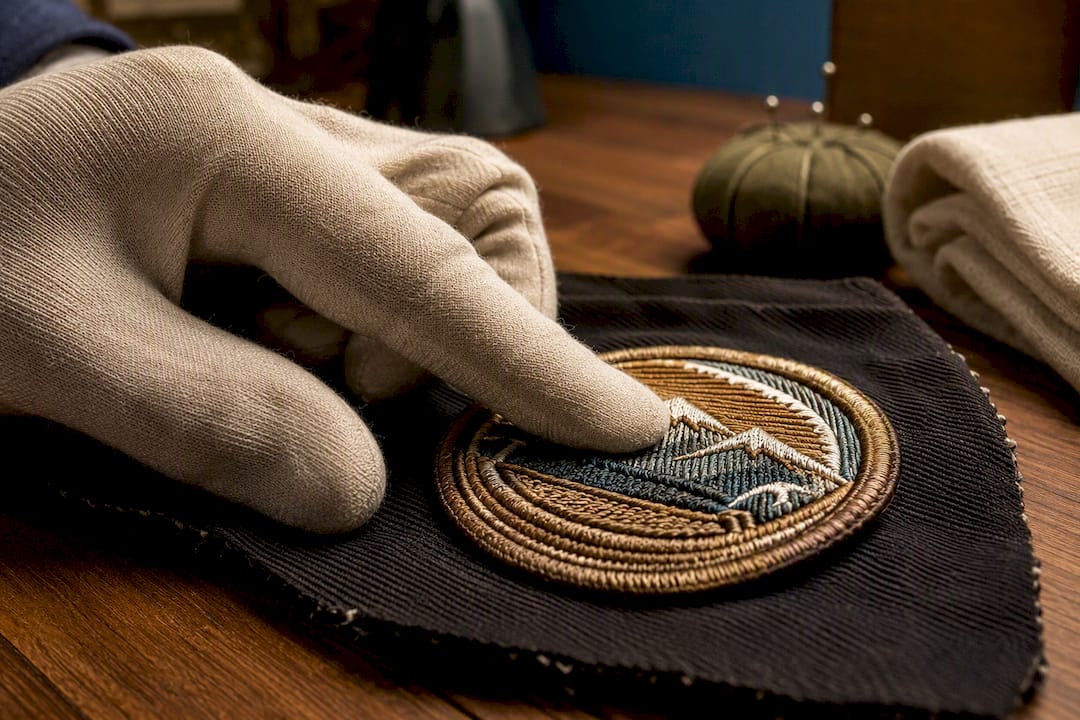
The tradeoff is resolution. Embroidery’s practical minimum readable text size sits around 8 to 10 point, so tiny text or intricate line art gets simplified or dropped. Dense stitch coverage also limits how many fine details a single patch can carry before it starts looking cluttered.
Physical characteristics to expect:
- Raised texture typically 2 to 3mm thick
- Rayon or polyester thread, chosen for sheen and colorfastness
- Merrowed (overlocked) border is the classic finish, though laser-cut edges are available
- Twill or felt backing, often paired with sew-on or iron-on attachment
- Best visual impact on heavier, structured fabric
Woven vs Embroidered Patches Compared Side by Side
Here’s how the two stack up across the factors that actually decide a purchase.
| Factor | Woven | Embroidered |
|---|---|---|
| Visual style / texture | Flat, printed look | Raised, dimensional texture |
| Detail capability | High, handles fine lines and small text | Moderate, better for bold shapes |
| Minimum readable text | Smaller, well under embroidery’s floor | Roughly 8 to 10pt / 3 to 5mm |
| Thickness / profile | Under 1mm | 2 to 3mm |
| Best fabric placements | Caps, polos, activewear, labels | Denim, canvas, heavy outerwear |
| Durability / wash performance | Strong detail and color retention | Slightly better abrasion resistance |
| Typical cost / production time | Often lower for high-detail designs at scale | Higher with dense stitch coverage |
A few quick calls make this easier to apply. Small text on a curved cap crown? Woven. A crest for a denim jacket meant to look like it’s been earned? Embroidered. A brand tag inside a lightweight tee where bulk would show through the fabric? Woven again.
Some brands split the difference by product line entirely. Heavier jackets get embroidered detailing for that dimensional, cost-effective-at-scale finish, while shirts and hats get woven patches for a cleaner, lower-profile look. That’s not indecision. That’s matching the patch to the job.
How Do You Choose the Right Patch for Your Order?
Walk through these steps before you send artwork to a patch maker, and you’ll avoid the most common reorder headaches.
- Assess your artwork’s complexity. Count the smallest text size and finest line in the design. If anything drops below roughly 3mm, woven is your realistic option.
- Pick the patch type based on texture goals, not just detail. If raised texture matters more than resolution, embroidered wins even if it means simplifying small elements.
- Confirm minimum text height in writing. Ask for the exact point size or millimeter height the maker guarantees will stay legible after production.
- Choose your edge and backing together. A merrowed border pairs naturally with embroidery; laser-cut edges work well with woven or PVC.
- Specify sew-on, heat-seal, or Velcro before quoting. This changes both price and how the patch performs in the wash.
When you send a spec sheet, give the maker exact numbers: size in inches, minimum text height in millimeters or points, thread coverage percentage if it’s embroidery, and weave resolution (the DPI equivalent) if it’s woven. Vague requests get vague results.
Ask your supplier for stitch counts, a clear minimum text size guarantee, and finishing options in writing. If they can’t answer those three questions directly, treat that as a red flag before you commit to a bulk order.
Pro Tip: Order one sample patch before committing to a full run, especially if your design includes text under 5mm. A physical sample catches legibility problems that a digital proof never will.
For guidance on picking patches that match your brand’s message and not just its silhouette, see how to choose clothing with purposeful messaging.
How Durable Are Woven and Embroidered Patches After Washing?
Both patch types hold up well through normal wear, but they age differently. Embroidered patches tend to resist surface abrasion slightly better because the raised thread absorbs friction before it reaches the backing fabric. Woven patches, meanwhile, retain fine detail and color fidelity longer, since the design is woven directly into the material rather than layered on top.
One nuance worth knowing: embroidered patches applied with heat-seal backing instead of sewn on can fray at the edges over repeated wash cycles, while woven patches resist unraveling because the threads form the fabric itself.
Attachment method matters as much as patch type. Sewing on remains the most durable option, though it takes more effort upfront. Iron-on backing is convenient but can peel loose after enough wash-dry cycles. Velcro backing trades some permanence for the ability to swap patches between garments.
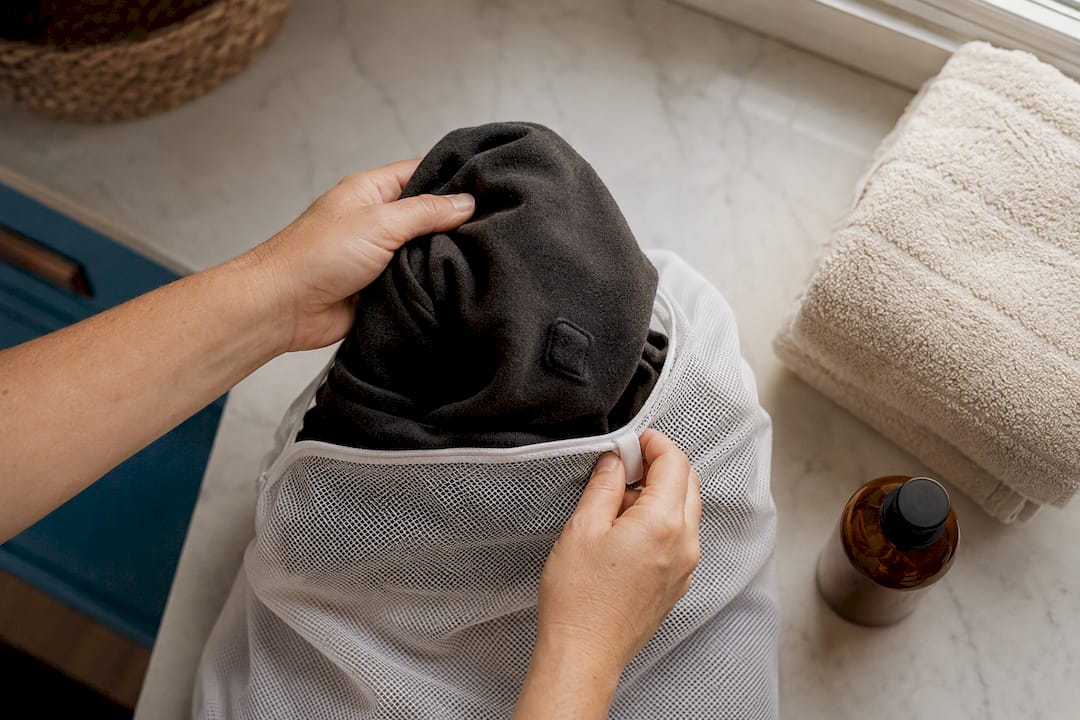
To protect either type, turn the garment inside out, use a gentle cycle, place it in a mesh laundry bag, use mild detergent, and air-dry when possible. For more detail on caring for patched apparel long term, Modern Day Knight’s guide on caring for embroidered military apparel walks through the full routine.
What Drives the Cost and Lead Time of Custom Patches?
Thread volume is the biggest cost driver on embroidery. Dense stitch coverage takes more machine time and material, which raises both price and production time. Woven patches often come out cheaper for highly detailed artwork at scale, since the loom process doesn’t add cost per stitch the way embroidery does.
Beyond patch type, a few variables move the quote:
- Each additional thread color adds setup and run time
- Merrowed borders cost more than laser-cut edges
- Backing choice (sew-on vs. iron-on vs. Velcro) shifts unit price
- Larger order quantities lower the per-unit cost significantly
Simplifying color count or border finish, without touching the core design, is usually the fastest way to bring a quote down.
Which Patch Type Works Best on Which Garment?
Caps and structured hats usually call for woven patches. Their low profile follows a curved crown without adding stiffness, though classic raised embroidered logos still show up on plenty of caps for that heritage look.
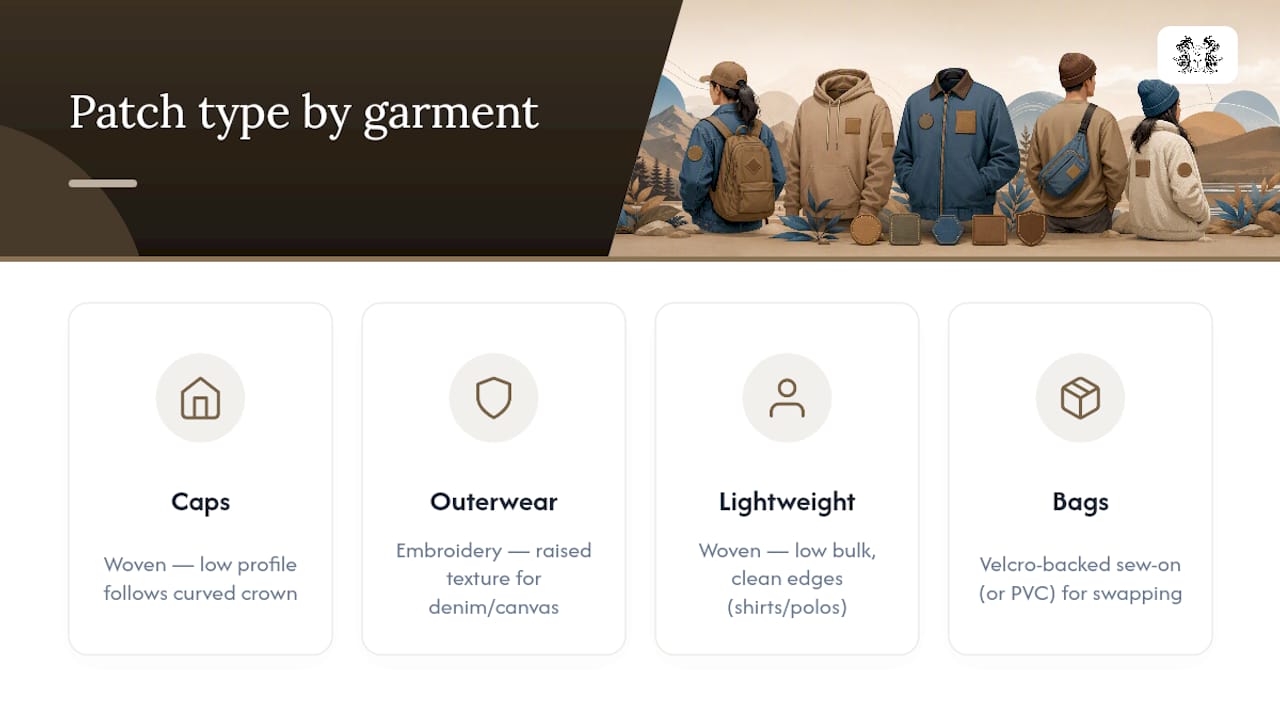
Denim, canvas, and heavy outerwear are embroidery’s home turf. The raised texture reads as substantial and earned on jacket fabric that can support the extra thickness.
Lightweight shirts, polos, activewear, and internal labels favor woven patches for their low bulk and clean edges. For bags or patches you want to swap out, a Velcro-backed sew-on option (or a PVC patch, a different rubber-based construction worth mentioning only in that context) gives you flexibility embroidery and standard woven can’t.
How Modern Day Knight Applies This to Real Apparel
Modern Day Knight matches patch type to product purpose, not just aesthetics. Hoodies typically get lower-profile patches to avoid added bulk under a hood or drawstring. Heavier outerwear earns embroidered crests, where the raised detail carries the weight the design deserves. That decision process follows the same logic laid out above: fabric first, texture goal second, detail level third.
Follow the care guidance for heavy-duty lifestyle garments to keep those patches looking sharp through repeated washes.
What People Get Wrong About Choosing a Patch
Most buying guides treat woven and embroidered like a style preference. They aren’t. They’re a materials decision with real consequences for how a design ages and reads at a distance.
The mistake we see most often: choosing embroidery because it “looks more official,” then discovering the fine text on a logo turned into a blurry knot of thread. Detail level should decide the patch type first. Texture preference comes second. Too many buyers reverse that order and pay for a redo.
The other overlooked piece is attachment method. Shoppers obsess over woven versus embroidered, then let a supplier default them into iron-on backing that peels after a dozen washes. Sew-on costs more effort upfront and saves the patch’s life. If a garment matters enough to put a symbol on it, it’s worth stitching that symbol down properly.
Prioritize legibility and fabric weight before texture preference. Everything else, border style, thread color, backing type, is a refinement, not a foundation.
— Modern Day Knight
See These Patch Choices on Real Apparel
Reading about woven and embroidered patches only tells you so much. Seeing them on finished garments settles the debate fast. The Army Brat Hoodie and the Modern Day Knight Old School Hoodie both show how a lower-profile patch keeps heavier fabric from feeling stiff or overbuilt, while the Army Brat Tee demonstrates why lightweight garments call for a flatter finish.
If your interest runs toward the values behind the design as much as the stitching, the Accountability Hoodie and Global Citizen Tee carry the same code of honor Modern Day Knight builds every piece around. Browse the full gear collection to see how patch choice, fabric, and message come together on apparel built to last through the wash and the wear. Pick a piece, check the sizing, and add it to your cart.
Sources
- Embroidered vs Woven Patches: Which One Should You Choose? – Our Knots
- Embroidered Patches vs Woven Patches: Which Should You Choose? – Custom Woven Labels
- Embroidered vs Woven Patches: Guide to Choosing the Right One - Apex Patches
- How to wash a hoodie – Nike (care guidance)


